


1
/
of
6
Trail Grid Pro
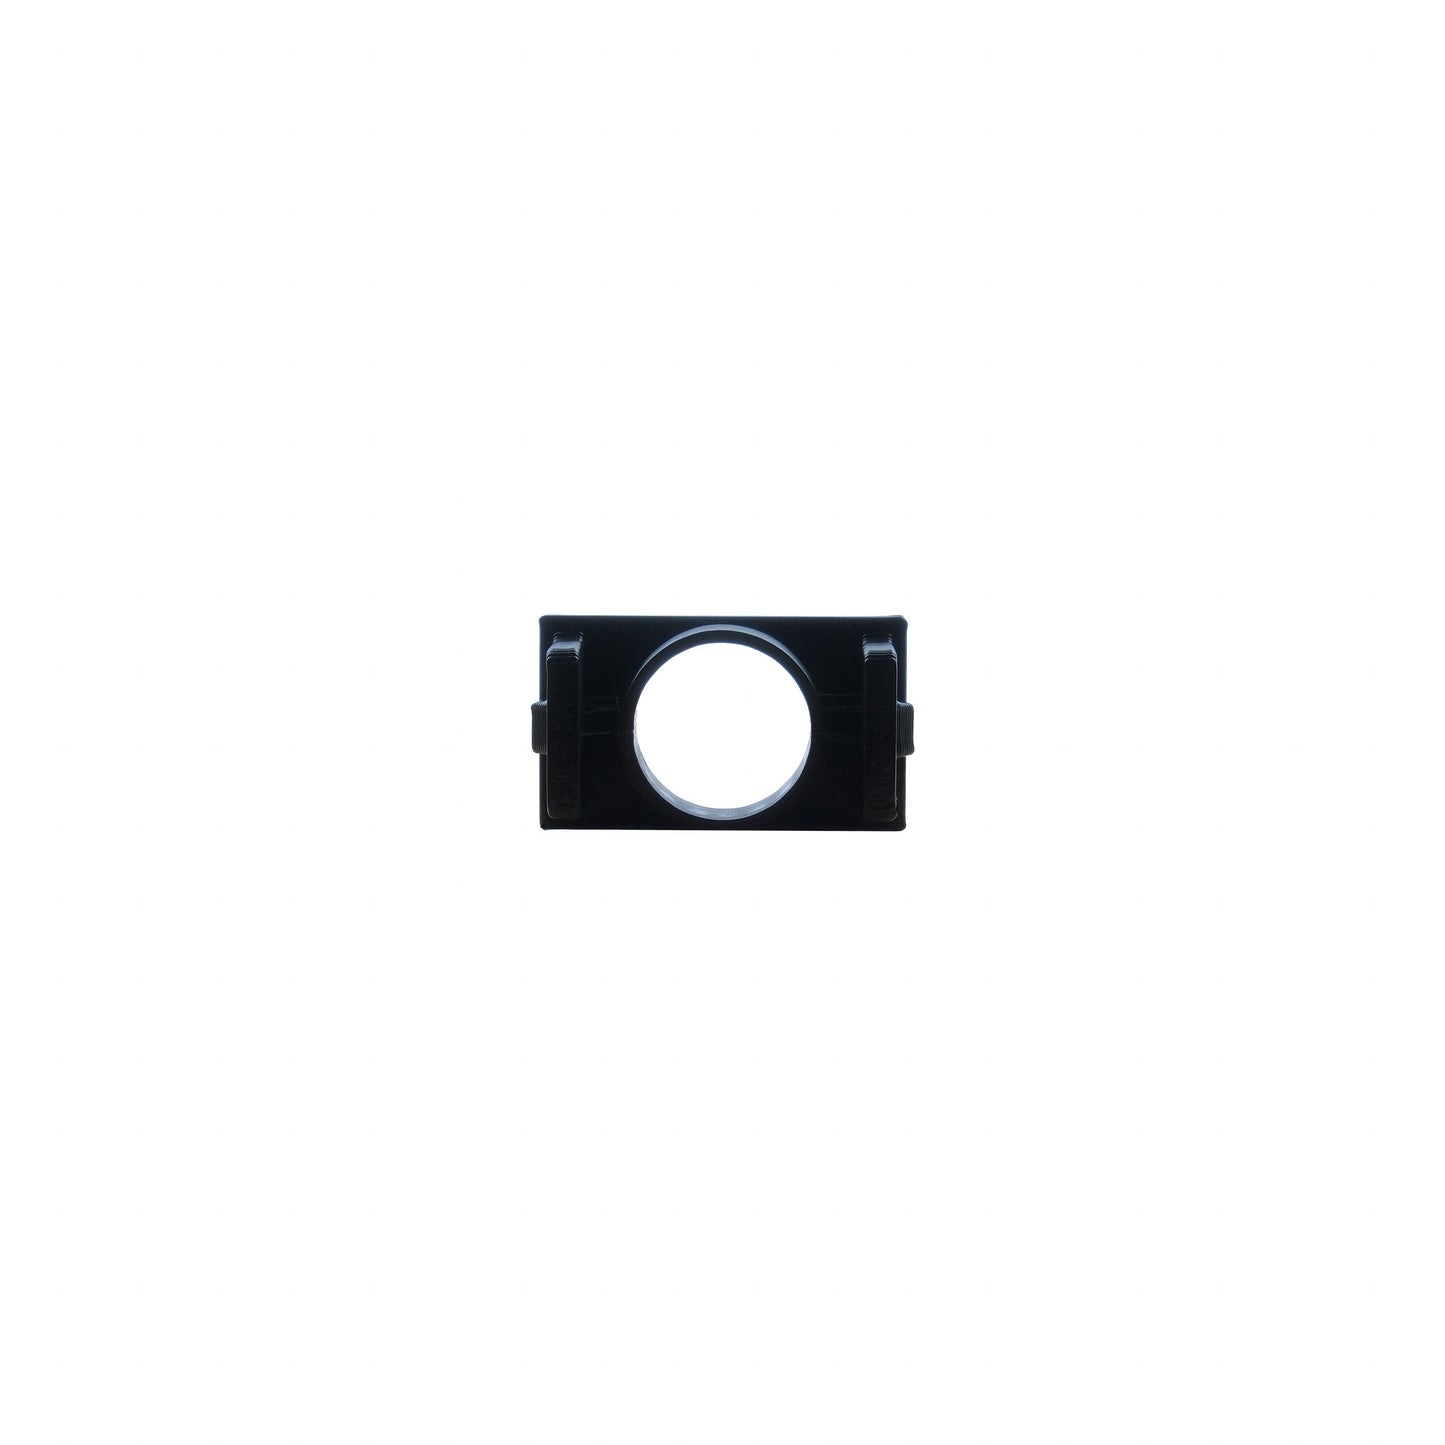
Sony Microphone Mount | '10 - '24 4Runner
Sony Microphone Mount | '10 - '24 4Runner
Regular price
$11.00 USD
Regular price
Sale price
$11.00 USD
Shipping calculated at checkout.
Available on backorder
Quantity
Couldn't load pickup availability
Shipping & returns
Shipping & returns
Shipping is calculated at checkout by size and destination. Most in-stock gear ships within a few business days; large freight items (campers, racks, bumpers) are made to order. Wrong fitment? Send it back within 30 days — we'll help you find the part that does fit.
Fitment & build help
Fitment & build help
Not sure if this fits your platform? Tell us your year, make, model, and trim — we'll confirm before you order. For bigger builds, we'll help you plan the full stack.
Warranty
Warranty
Every product on this site ships through authorized channels with full manufacturer warranty. If something breaks in normal use, we'll help you get it resolved.
Share


Sony Microphone Mount | '10 - '24 4Runner
$11.00
How to install your Mic Mount

We are proud to offer you a solution for mounting your Sony aftermarket microphone in your 2010 – 2024 4Runner’s factory microphone location.
This allows your new microphone to be neatly tucked away in the headliner console and maintains the level of voice clarity and function you expect.
Installation Steps
-
Remove Headliner Console. Depending on trim level this may vary slightly.
– If you have a sunglasses compartment, flip open the compartment and remove the 2 screws.
OR
– If you have terrain setting knobs (i.e., TRD Pro, Off Road, etc.), pull down/off the control panel which will reveal the 2 screws.
– Front of headliner console is typically held in with pressure clips and can be removed by pulling straight down.
- Remove Headliner Console Wiring Harness. Unplug harness connector.
- Remove Factory Microphone. Locate microphone (black rectangle) and push toward the front of headliner console. This will remove the cover for the dome light switch cover and switch. Unplug the factory microphone and replace the dome light switch and cover.
- Remove Mounting Ball On Microphone. The small ball can be removed easily by cutting with a pair or side cutters or a utility knife.
- Install Microphone To Mount. Route the 3.5mm jack end through the bottom end of the mount. Pull all slack through and secure microphone into mount. Rounded end of microphone should be inline with 2 legs on mount.
- Install Sony Microphone Mount. Install mount into headliner console. Insert mount (legs facing down) until the clip locks into place.
- Route Microphone Wire. Start by routing microphone wire from headliner console area through headliner towards rearview mirror. At this point, you can re-install the headliner console. Be sure to pull excess slack toward the rearview mirror while reinstalling headliner console. Continue routing the wire along the top of the windshield toward the driver side A pillar. Tuck the wire behind the A pillar cover and route down the A pillar toward the drivers floorboard. Run the wire under the dash area and finish by routing the 3.5mm jack to the back of your new Sony Bundle. Connect the 3.5mm jack into the red mic port on the rear of the Sony radio chassis.
- Test Functionality. Test functionality after making all required connections.
-
Ships from San Diego
We ship from our San Diego dealer network. Most in-stock gear goes out within a few business days — shipping's calculated at checkout by size and destination.
-
Wrong fitment? We make it right.
If a part doesn't fit your platform the way it should, send it back. We handle the return and find you the part that does.
-
Authorized dealer support
Every product moves through proper channels. Full manufacturer warranty, real tech support — no gray-market headaches.